This post contains affiliate links and is a member of the Amazon Services LLC Associates Program. If you make a purchase using one of these affiliate or Amazon links, I may receive compensation at no extra cost to you.
15 Dark Wood Trim Accent Wall Ideas That Actually Work
Dark wood trim accent wall ideas that skip the trendy fluff — real paint colors, sourcing tips, and honest takes on what works (and what doesn’t).
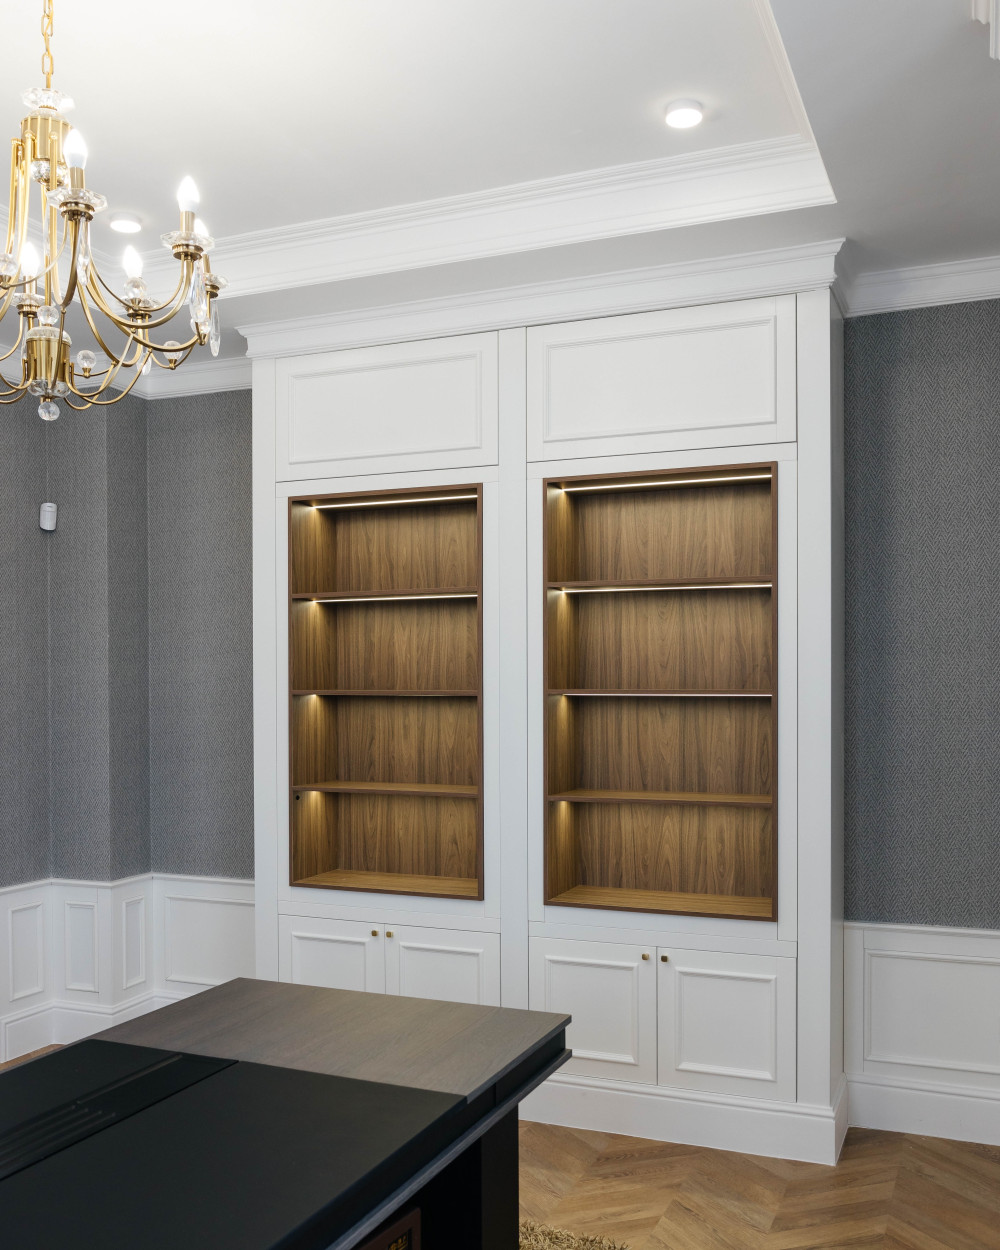
Dark wood trim accent walls have serious staying power — and unlike some fleeting trends, this one actually earns it. The rich contrast between dark stained wood and lighter walls creates depth that generic shiplap just can’t match.
I’m partial to walnut and espresso stains over the mass-produced “dark oak” options flooding Pinterest. The key is choosing trim profiles that complement your existing molding rather than fighting it.
The Exact Wood Stains and Paint Colors You Need
Go with Minwax Dark Walnut 2716 — it’s rich without being muddy and works on both pine and oak lumber. Skip Special Walnut; it reads too orange against most wall colors.
Pair with Benjamin Moore White Dove OC-17 for contrast that feels intentional, not stark. Sherwin Williams Accessible Beige SW 7036 works if you want warmth over crispness.
Use semi-gloss stain finish to prevent the wood from looking flat. Matte finishes absorb light and make dark wood disappear into shadows.
Budget $8-12 per linear foot for quality 1×4 pine boards at Home Depot. Pre-primed MDF costs less but dents easily and can’t handle moisture.
Always buy 15% more trim than measured — you’ll need extra for mitered corners and inevitable cutting mistakes. Returning excess lumber is easier than stopping mid-project.
1. Classic Board and Batten with Dark Stain
This is hands down my favorite approach — traditional board and batten geometry but stained in rich espresso instead of painted white. The vertical lines create height while the dark wood grounds the space with warmth that painted trim can’t match.
Perfect for bedrooms where you want cozy sophistication. Use 1×4 boards spaced 16 inches on center, and don’t skip the top cap rail — it’s what makes this look custom instead of DIY obvious.
2. Geometric Panel Grid in Walnut
Think traditional paneling but with contemporary proportions — larger rectangles arranged in a clean grid pattern. The walnut stain gives this major grown-up energy compared to the farmhouse board and batten everyone’s doing.
This works best on walls 9 feet or taller; shorter ceilings make the proportions look cramped. Plan for a weekend project and serious measuring — wonky rectangles kill the whole sophisticated vibe.
3. Half-Wall Wainscoting with Dark Wood Cap
Traditional wainscoting gets an update with a thick dark wood cap rail that makes a real statement. I’d pick this over full-wall board and batten any day — same visual impact but you can actually hang art above it.
Honestly, this look only works if you have decent ceiling height. In rooms under 8 feet, the horizontal line cuts the space in half and makes everything feel cramped.
4. Modern Slat Wall in Dark Oak

Vertical slats spaced with consistent gaps create rhythm and texture without the fussy details of traditional trim work. The dark stain keeps it from reading too Scandinavian minimalist.
Fair warning — this collects dust like crazy. If you’re not someone who stays on top of cleaning, the gaps become obvious dirt catchers within weeks.
5. Fireplace Surround with Dark Trim Frame
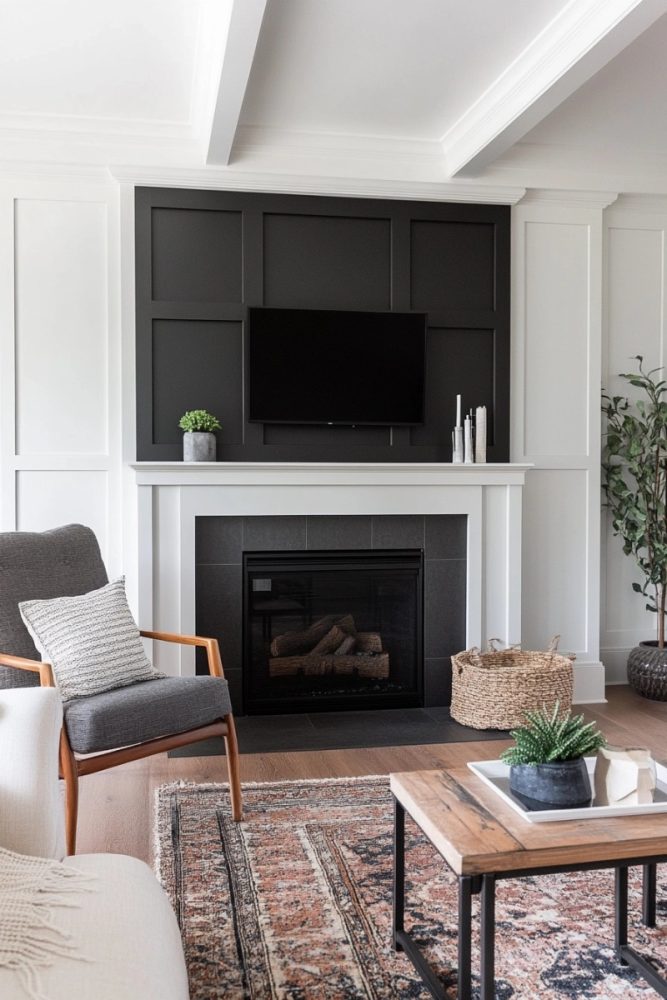
A thick dark wood frame around your fireplace creates instant architectural interest — especially effective if your fireplace is the boring builder-grade kind. The contrast between the dark frame and lighter wall paint is unreal.
This one requires serious commitment since it’s not easily removable. Make sure you love the proportions because thick trim can overwhelm smaller fireplaces.
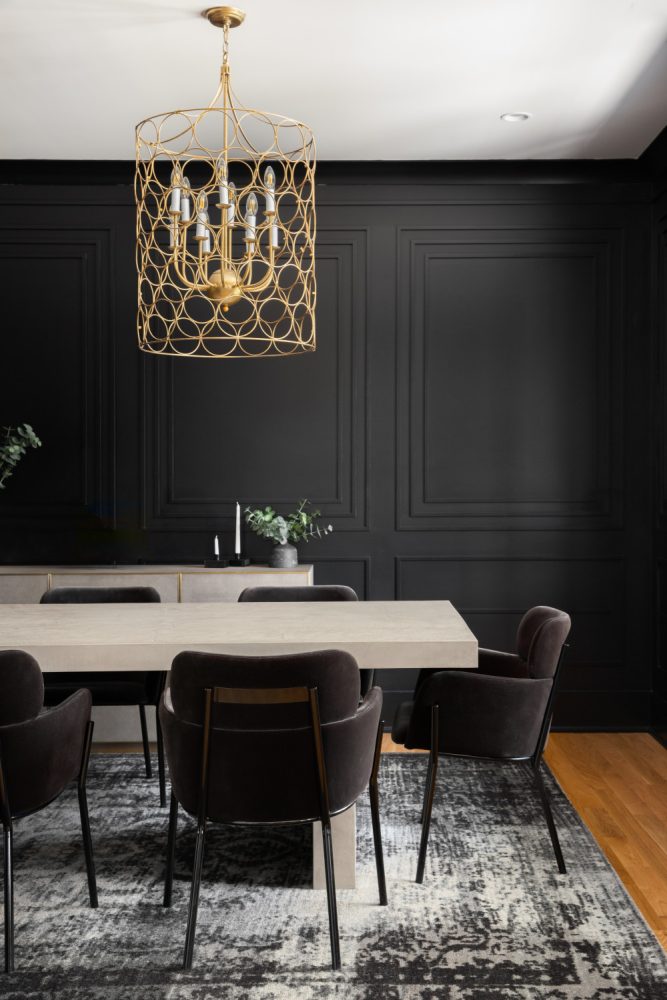
6. Dining Room Chair Rail with Wide Panels
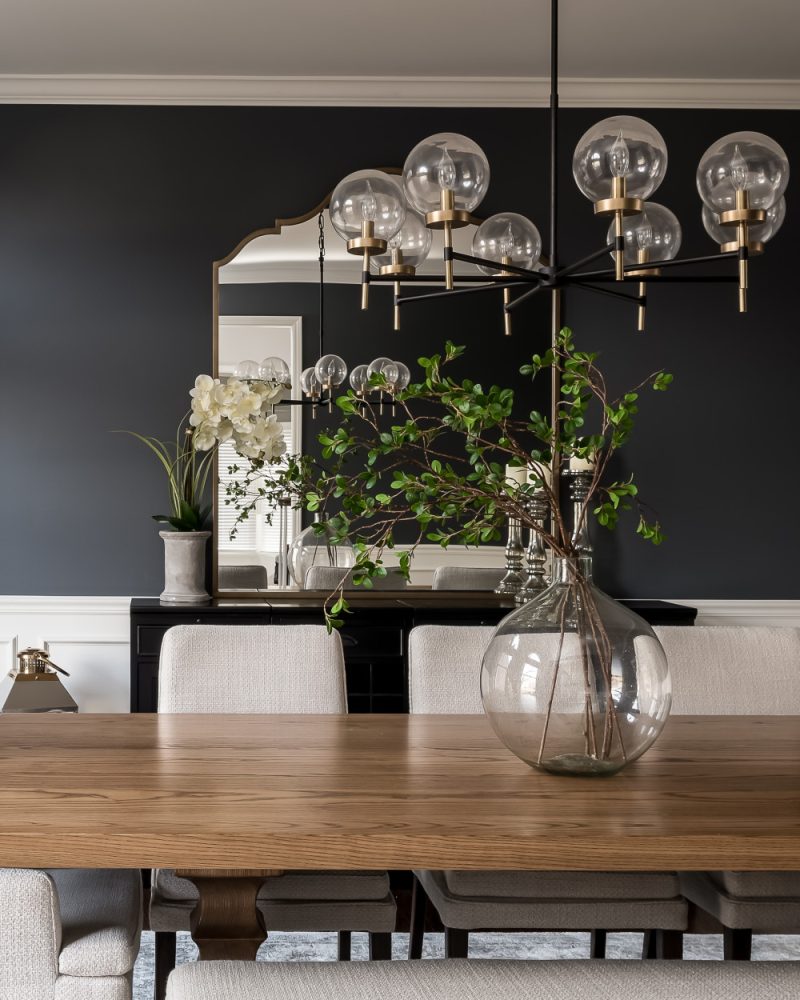
Oversized rectangular panels below a chair rail get upgraded with dark walnut stain instead of the expected white paint. Or reverse it like in this photo. It’s formal without being stuffy, and the rich wood tone works with both brass and black hardware.
Perfect for dining rooms where you want presence but not overwhelm. The horizontal line keeps the focus at eye level rather than drawing attention up to potentially awkward ceiling proportions.
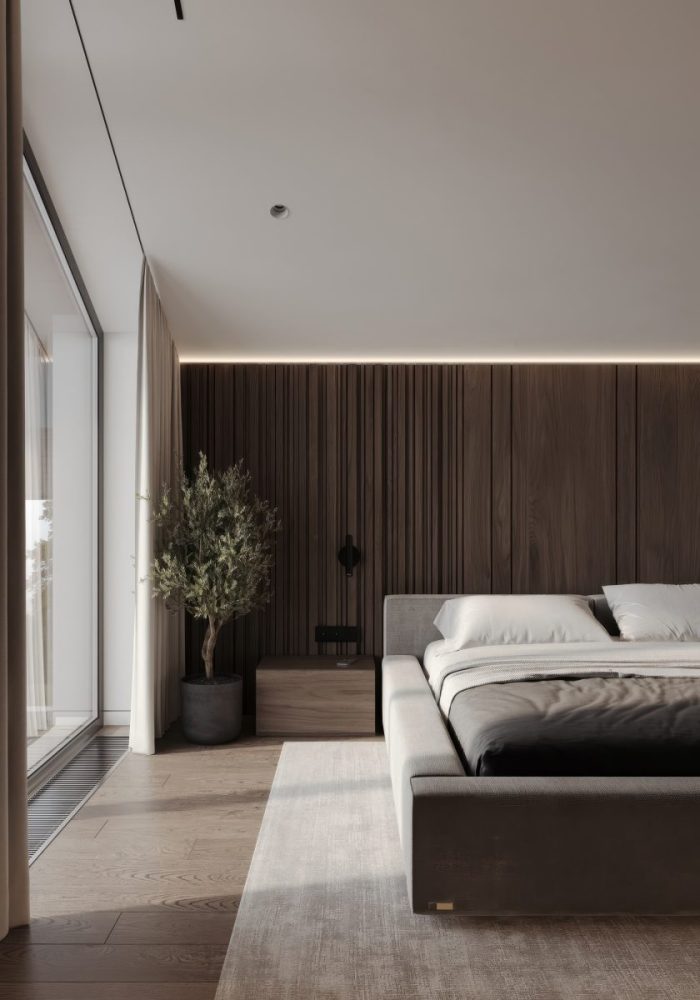
7. Bedroom Headboard Wall with Trim Details
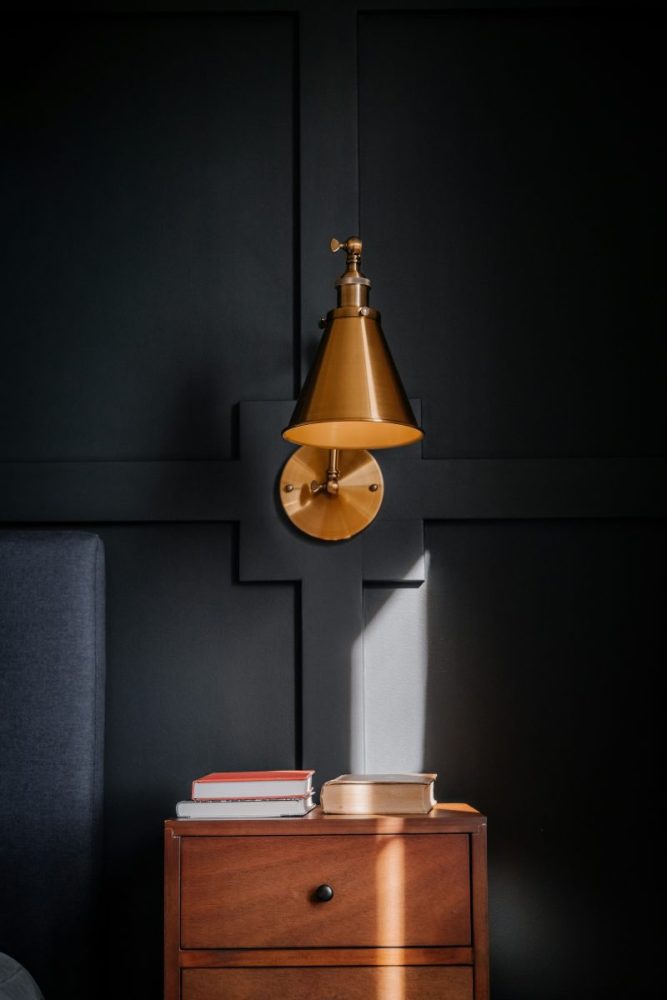
Instead of an upholstered headboard, create a built-in look with dark trim work directly on the wall behind your bed. The geometric pattern adds sophistication while the dark stain creates a cozy, cocoon-like feeling.
This is my #1 pick for master bedrooms — it’s custom-looking but totally achievable for DIYers. Just measure twice because asymmetrical panels will haunt you every night.
8. Bathroom Accent Wall with Moisture-Resistant Trim
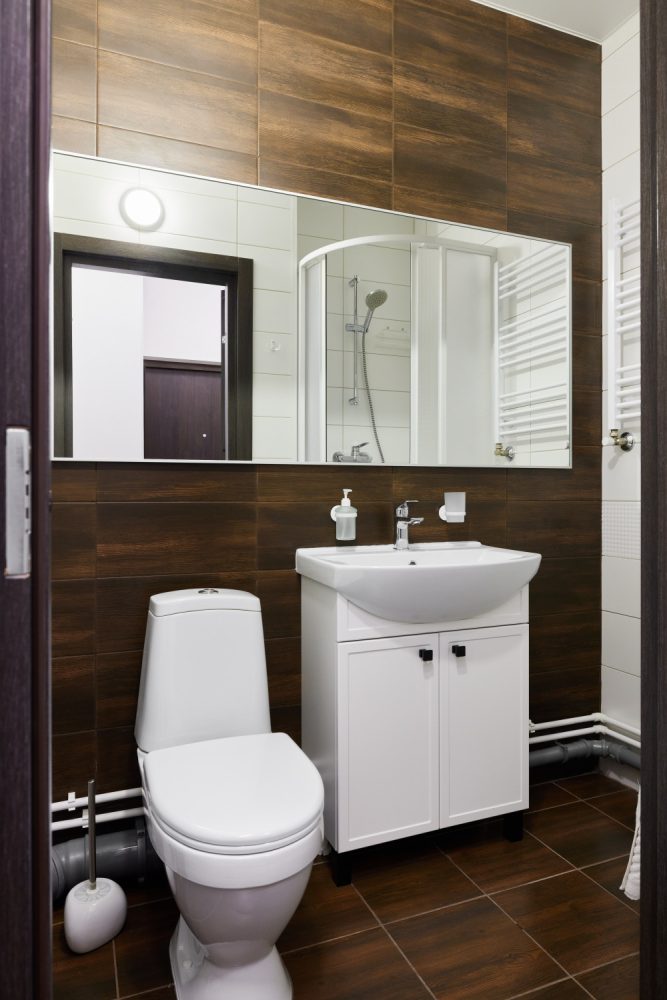
Dark trim work in bathrooms feels unexpectedly luxurious — like a high-end spa instead of builder basic. Use marine-grade polyurethane over your stain to handle humidity without warping or discoloration.
Gorgeous but not practical with kids who splash constantly. The dark finish shows every water spot and requires regular maintenance to look good.
9. Entryway Statement Wall
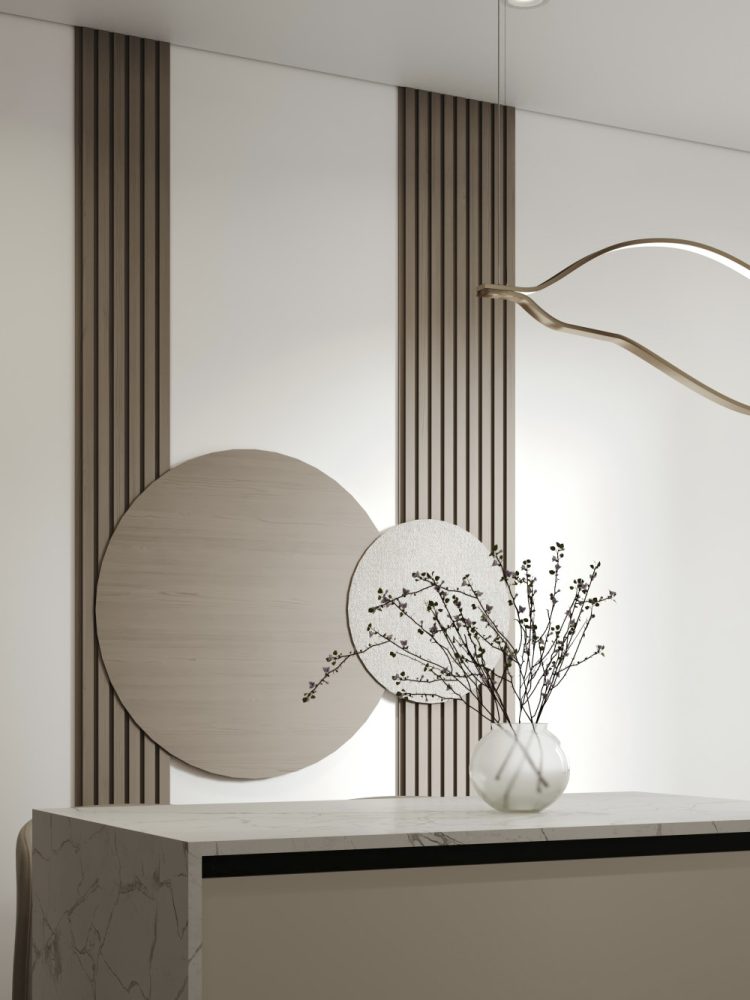
Combine function with style by incorporating coat hooks directly into your dark trim design. The rich wood tone hides scuffs from bags and backpacks better than painted surfaces ever could.
Smart for busy families but plan the hook placement carefully — you want them positioned for actual use, not just symmetrical design. Measure your family’s heights and hanging habits first.
10. Office Library Wall with Dark Shelving Trim

Built-in shelving appearance using dark trim to frame floating shelves — it’s the grown-up version of the floating shelf trend. The dark frames give structure and make your book collection look intentional instead of random.
This one requires precise measuring and level installation. Crooked “built-ins” are more obvious than crooked pictures, and there’s no easy way to fix them once the trim is up.
11. Nursery Feature Wall with Soft Contrast
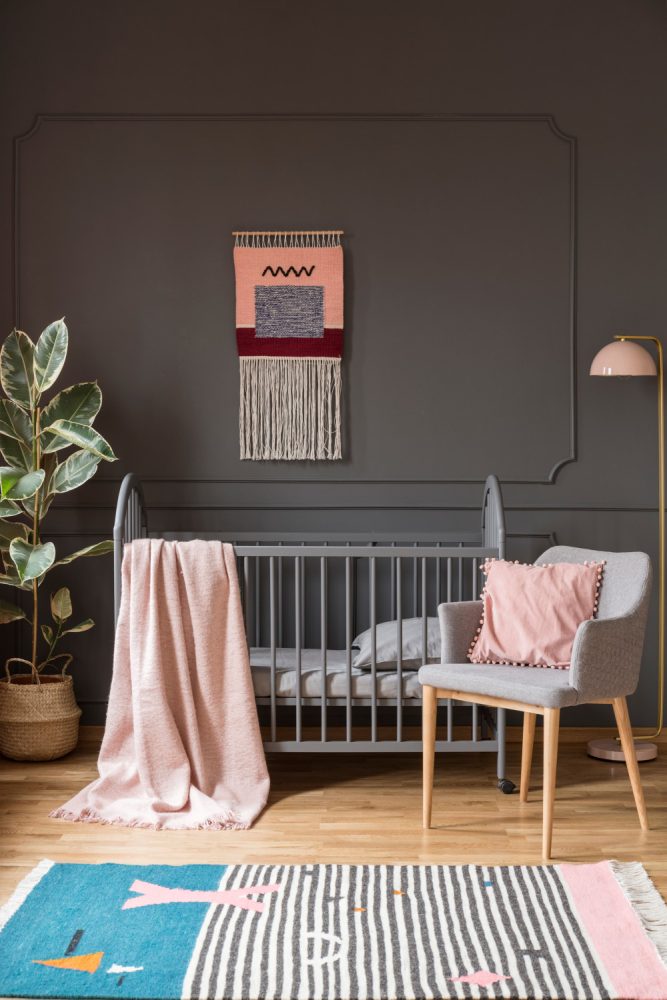
Dark trim against soft neutral walls creates visual interest without being overstimulating for little ones. The rich wood tone grows with the child and won’t need updating as they age out of nursery themes.
Perfect for parents who want sophisticated nursery design. The darker elements hide inevitable scuffs and marks better than all-white schemes that show every fingerprint.
12. Kitchen Island Trim Detail in Dark Stain

Apply the same trim treatment to your kitchen island sides for cohesive design that feels custom rather than afterthought. The dark wood complements both light and dark cabinetry without competing for attention.
Works especially well if you already have dark hardware or appliances. The key is keeping the trim profiles simple — ornate details clash with modern kitchen aesthetics.
13. Stairway Wall with Angled Trim Following the Steps
Follow your stairway angle with dark trim panels that echo the slope — it’s architectural detail that actually makes sense with the space instead of fighting it. The rich wood tone makes the usually-ignored stairway wall feel intentional.
This is trickier than it looks and definitely not a beginner project. The angled cuts need to be precise, and measuring gets complicated fast with the sloped layout.
14. Living Room TV Wall with Dark Wood Frame
Create a built-in entertainment center look by framing your TV wall with dark trim work. It gives the television a proper home instead of floating awkwardly on a blank wall.
Plan the proportions around your actual TV size — trim that looks great with a 65-inch screen will overwhelm a smaller television. Measure your current setup before cutting any wood.
15. Powder Room Drama with Floor-to-Ceiling Panels
Small powder rooms can handle bold choices that would overwhelm larger spaces. Floor-to-ceiling dark trim panels create sophisticated drama that makes the tiny space feel intentionally jewel-like instead of cramped.
This works because powder rooms don’t need to feel relaxing like full bathrooms — they can be dramatic and moody. Just make sure your lighting is adequate or it’ll feel like a cave.
What This Project Actually Costs
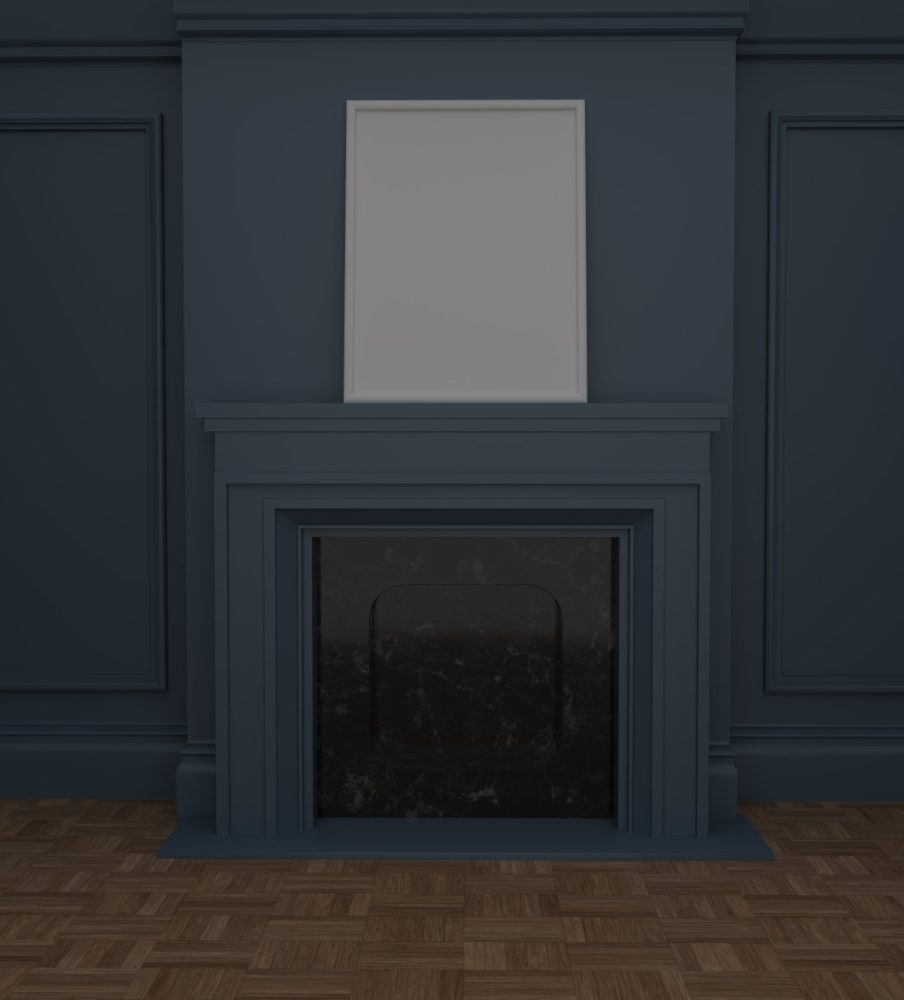
Materials run $8-15 per linear foot depending on wood quality and trim profile complexity. A typical accent wall (10×8 feet) needs about 80 linear feet of trim, putting materials around $640-1200.
Add $150-200 for stain, polyurethane, sandpaper, and brushes — don’t cheap out on stain quality since it’s what you’ll see every day. Minwax penetrating stains cost more but give even color without blotchiness.
Professional installation runs $25-40 per linear foot if you’re hiring out. The precision cutting and mitered corners take skill, and wonky trim work is obvious and unfixable.
DIY timeline is typically 2-3 weekends for planning, cutting, installing, and finishing. The staining process alone takes multiple days with drying time between coats.
Sourcing Your Materials Without Overpaying
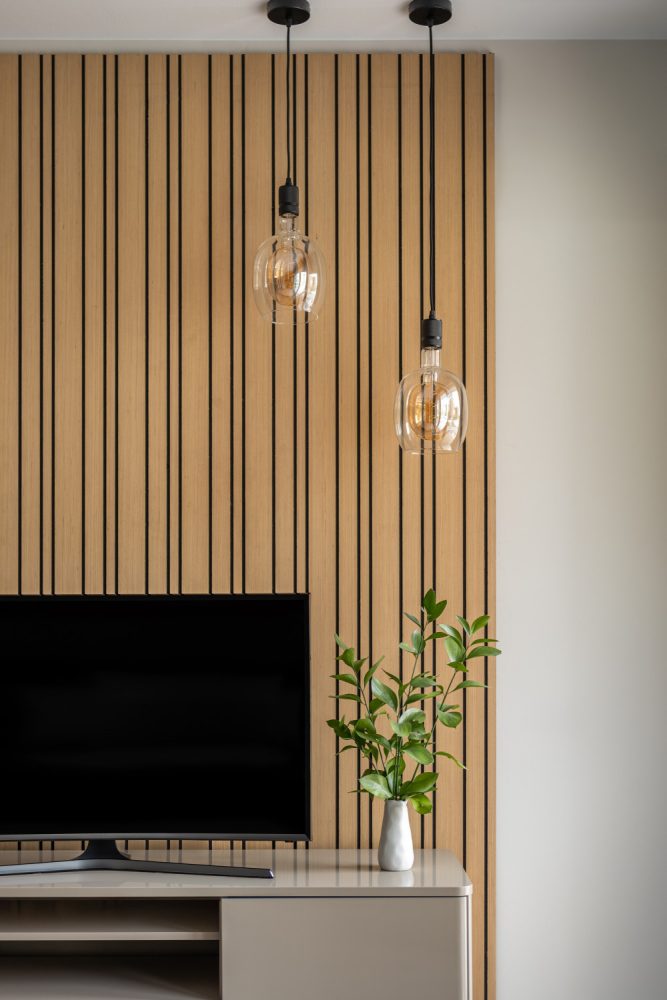
Home Depot and Lowe’s carry quality pre-primed pine trim that takes stain well — their 1×4 select pine runs about $8 per 8-foot board. Avoid the finger-jointed options that show obvious seams through stain.
Local millwork shops offer custom profiles but expect 20-30% higher costs. Worth it if your existing trim has unique detailing that standard profiles won’t match.
Buy all your lumber from the same batch to ensure consistent grain and color acceptance. Different production runs can stain differently even with identical wood species.
Order 15-20% extra material for mistakes, future repairs, and seasonal wood movement. Dark stains are harder to match later if you need touch-ups or replacements.
Installation Mistakes That Ruin the Look

- Skipping pre-staining wood filler — regular wood filler shows through dark stain as light spots. Use stainable filler or your nail holes will be obvious forever.
- Not pre-drilling nail holes — dark hardwoods split easily, and split ends are impossible to hide with stain. Pre-drill every nail hole in oak or maple.
- Rushing between stain coats — each coat needs 8+ hours to properly cure before adding polyurethane. Rushing creates tacky finishes that never fully harden.
- Forgetting seasonal wood movement — leave 1/8-inch gaps at inside corners for expansion. Tight joints crack when wood swells in summer humidity.
- Matching existing trim height exactly — dark trim often looks heavier than white, so consider dropping your new trim 1/4-inch below existing for better visual balance.
Which Room Are You Starting With?
Dark wood trim accent walls work best where you spend time appreciating the details — bedrooms, dining rooms, and offices top my list. Skip high-traffic areas until you’re confident with the maintenance requirements.
Start with one statement wall rather than going full-room if you’re unsure about the commitment. You can always add more later, but removing stained trim work is a major project. Pin your favorites for later!