This post contains affiliate links and is a member of the Amazon Services LLC Associates Program. If you make a purchase using one of these affiliate or Amazon links, I may receive compensation at no extra cost to you.
DIY Vertical Wood Slat Wall on a Budget (15 Ideas That Work)
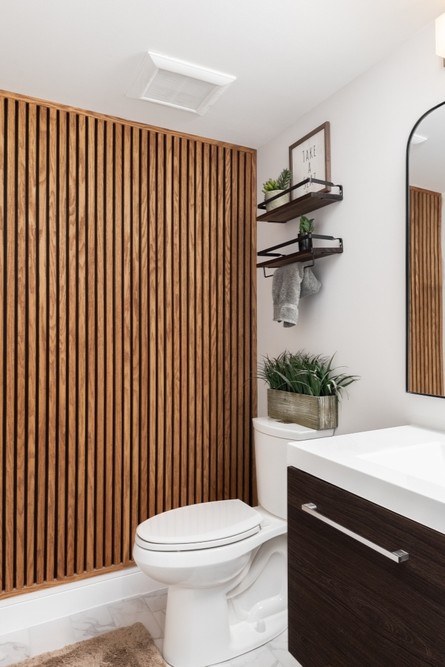
Budget-friendly DIY vertical wood slat wall ideas with real material costs, step-by-step tips, and 15 designs that actually work in real homes.
DIY vertical wood slat walls have serious staying power — and unlike some fleeting trends, this one actually earns it. The clean lines work in everything from moody bedrooms to bright living rooms, and you can pull off the look for under $200 if you’re smart about materials.
Fair warning though — not all slat wall tutorials are created equal. I’ve seen way too many Pinterest fails where people skip the crucial prep steps or choose the wrong wood thickness.
Smart Material Choices That Won’t Break the Bank
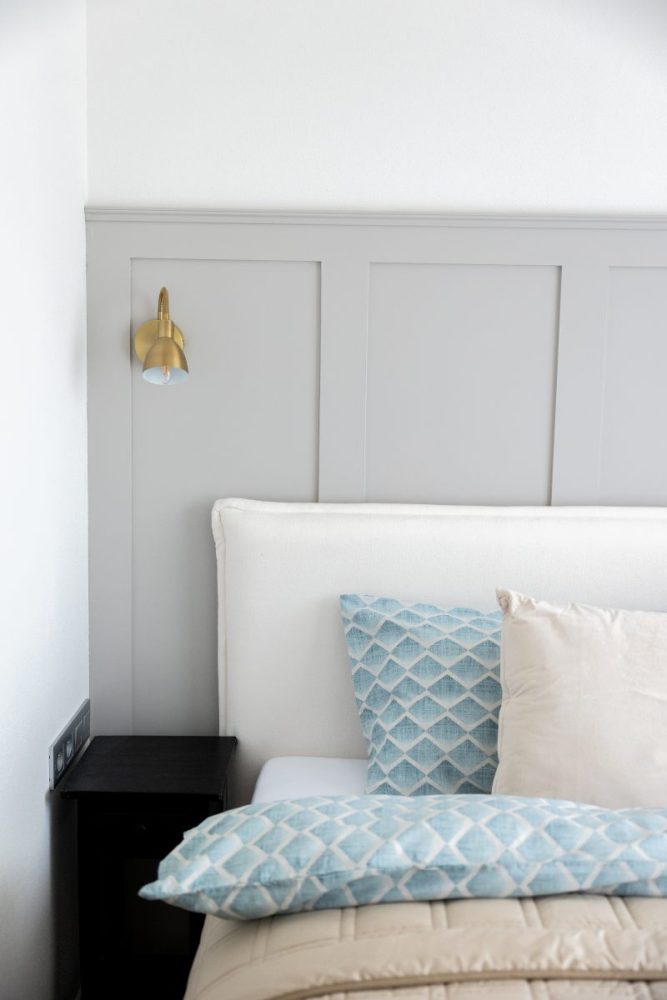
Skip the plywood route. I know everyone says to rip plywood strips, but 1×2 pine furring strips from Home Depot cost about the same and look way better — around $3-4 per 8-foot strip.
Buy extra for waste. You’ll mess up cuts or find boards with knots, so grab 15% more than your wall square footage needs.
Prime everything first. Bare wood drinks up paint unevenly, leaving you with streaky coverage that screams amateur hour.
Use construction adhesive plus nails. Liquid Nails Heavy Duty ($6) creates a bond that won’t fail when your slats expand and contract with humidity changes.
Rent a nail gun if you don’t own one. Hand-nailing 50+ slats will take forever and your spacing will drift — Home Depot rents 18-gauge guns for $40/day.
1. Classic Bedroom Refresh Behind the Headboard
This is hands down my favorite application — the vertical lines make ceilings feel taller and create the perfect focal point without overwhelming a small bedroom. The natural wood grain adds warmth that white walls alone can’t match.
Best for anyone wanting maximum impact with minimal square footage since you only need to cover the wall behind your bed. Keep slats 1-2 inches apart for the cleanest look, and paint them Benjamin Moore White Dove OC-17 if your room needs more light reflection.
2. Budget-Friendly Full Living Room Feature Wall
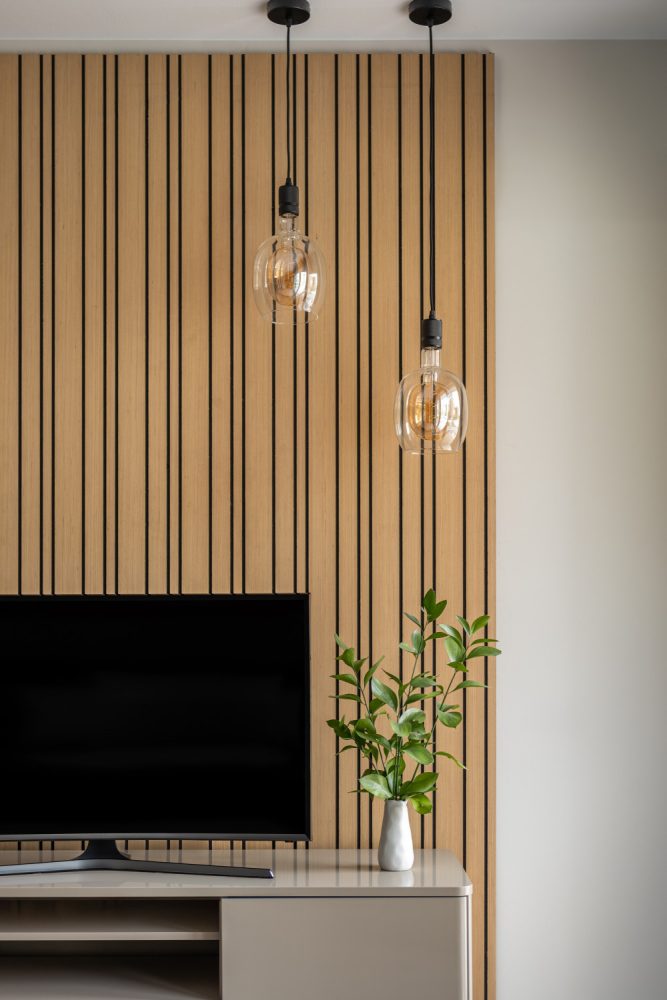
A full wall treatment looks expensive but doesn’t have to be — this approach uses consistent spacing and simple installation to create serious designer impact. The key is picking the right wall, usually the one your sofa faces.
Perfect for renters since you can use Command strips for lightweight slats instead of nails. Just make sure your wall gets decent natural light or the vertical shadows will make your room feel cave-like.
3. No-Plywood Approach That Actually Works
I’m partial to this method because it skips the whole plywood-ripping drama that most tutorials push. Using pre-cut furring strips saves time and money, plus you get consistent dimensions without needing a table saw.
This is ideal if you don’t have a full workshop setup but still want professional-looking results. The trade-off is less customization in slat width, but honestly, standard 1x2s look perfect in most spaces.
4. Step-by-Step Weekend Project Approach
This method breaks down the whole project into manageable chunks — perfect for beginners who get overwhelmed by big DIYs. The spacing guide technique eliminates the guesswork that trips up most first-timers.
Great for anyone who needs confidence-building wins along the way. Fair warning though, this approach takes longer than other methods, so don’t start Friday night expecting to finish Sunday if you’re covering a large wall.
5. $15 Modern Accent Wall Hack
Honestly, I was skeptical about the $15 claim until I tried this myself — it works if you have a small accent area and shop smart. The trick is using select pine boards on sale instead of premium lumber.
Best for powder rooms, small entryways, or behind floating shelves where you need impact but don’t have much square footage to cover. Won’t work for large walls unless you’re okay with lower-grade wood and visible knots.
6. Dark Wood Statement Wall for Media Areas
This look only works if you have the natural light for it — in a dim room, dark slats will make your space feel like a bunker. But get the lighting right and the contrast is unreal, especially behind a mounted TV.
Perfect for anyone wanting a masculine, sophisticated vibe. Use Sherwin Williams Iron Ore SW 7069 for this exact shade, but test it in your space first since it reads differently under warm vs cool light.
7. Modern Vertical Wood Slat Fireplace
Modern wood slat on fireplace — it has this subtle sophistication that pine just can’t match. The natural variation keeps things interesting without being busy.
This is my go-to recommendation for anyone wanting to invest in one really beautiful accent wall rather than several cheaper projects. Expect to pay $8-12 per linear foot for quality white oak slats, but they’ll look expensive for decades.
8. Neutral Panel Wall for Multiple Rooms
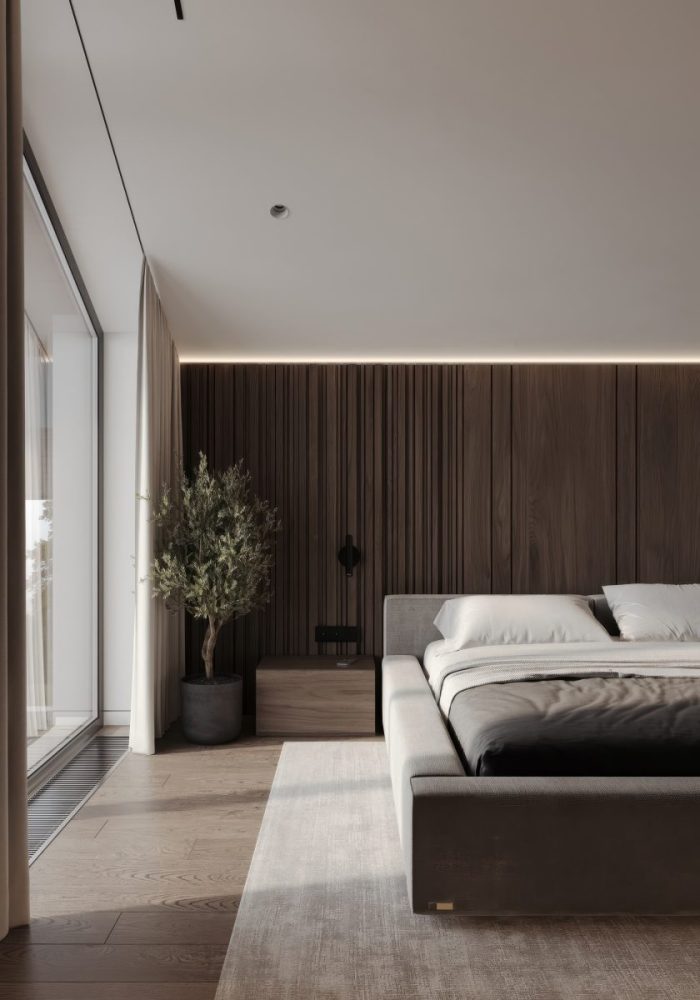
This approach works beautifully in hallways, dining rooms, or anywhere you want cohesion between spaces. The neutral tone plays nice with any decor style and won’t fight with your furniture choices.
Great for anyone planning to move or change decorating styles frequently since neutral wood goes with everything. Use Benjamin Moore Revere Pewter HC-172 if you want to paint the slats — it’s the most universally flattering greige.
9. Affordable Plywood Alternative Method
This tutorial gets straight to the point with clear measurements and realistic expectations. The plywood approach does save money if you’re covering large areas, but requires more tools and skill than most people have.
Only attempt this if you’re comfortable with a circular saw and have space to work. The results look great, but there’s definitely a learning curve if you’ve never ripped plywood strips before.
10. Classy Multi-Room Application Ideas
The beauty of this collection is seeing how the same basic technique adapts to different room functions and sizes. Some work better than others — the dining room applications are gorgeous but the bathroom ones feel overwhelming.
Perfect inspiration for anyone planning multiple slat walls throughout their home. Just remember that less is more — pick 1-2 statement walls rather than doing every room.
11. Living Room TV Wall Integration
This setup looks incredibly polished but requires careful planning around outlets and cable management. The slats create natural channels for hiding wires, which is brilliant if you think ahead.
Best for anyone doing a full media wall renovation since you’ll need to move electrical anyway. Don’t attempt this as a simple weekend project — the TV mounting and wire routing alone needs a full day.
12. Multiple Bedroom Layout Solutions
The Japandi-inspired applications shown here work beautifully in small bedrooms where every design choice needs to earn its space. The clean lines don’t compete with furniture or storage solutions.
Ideal for studio apartments or tiny bedrooms where you need visual interest without visual clutter. Stick to lighter wood tones in small spaces — dark slats will make cramped rooms feel even smaller.
13. Easy Installation Process Breakdown
This step-by-step approach removes all the guesswork with clear photos of each stage. The spacing technique using a temporary guide board is genius and eliminates the measuring errors that make DIY slat walls look amateur.
Perfect for visual learners who need to see each step rather than just read instructions. The process takes patience but the results look professionally installed when you follow it exactly.
14. Colorful Budget-Friendly Options
The painted slat examples prove you don’t have to stick with natural wood — color opens up tons of possibilities. Navy blue slats in a white room create serious drama, while sage green feels fresh and modern.
Great for anyone wanting personality without the higher cost of premium wood species. Use Sherwin Williams Extra White SW 7006 for the wall behind colored slats — it makes any paint color look richer.
15. Multiple Design Enhancement Ideas
This collection shows how slat walls work in bathrooms, offices, and unexpected spaces like entryways. Some applications work better than others — the office examples are sophisticated while the bathroom ones feel like too much.
Perfect for getting creative with placement, but use common sense about moisture and function. Bathrooms need proper ventilation and sealed wood, while offices benefit from the acoustic properties of wood slats.
Real Cost Breakdown for Different Wall Sizes
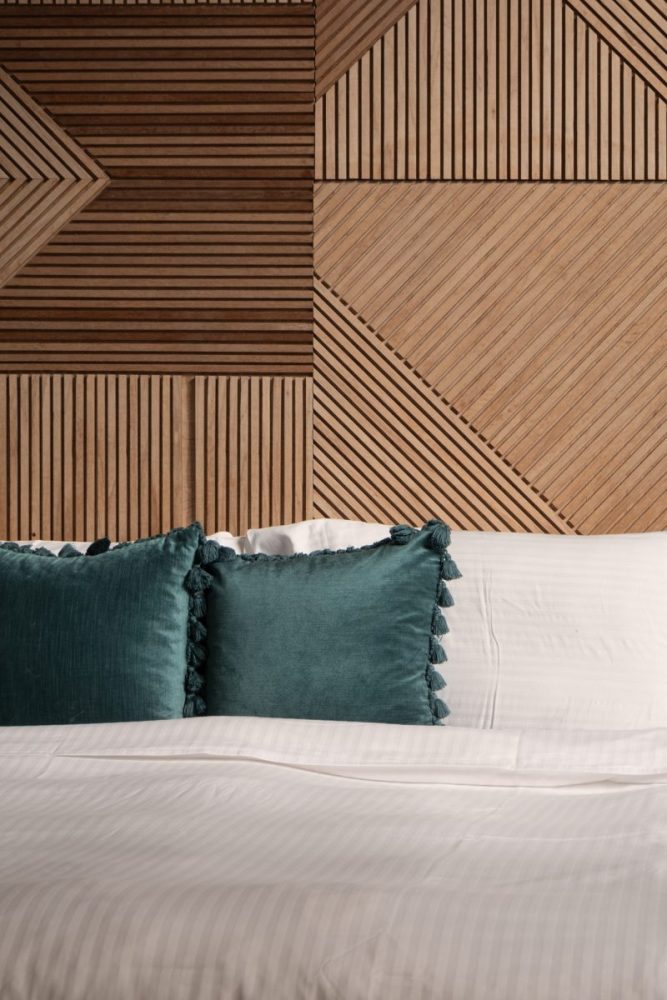
A typical 8×10 foot accent wall costs $150-300 depending on your material choices and local lumber prices. Pine furring strips run about $3-4 per 8-foot piece, while white oak jumps to $8-12 per piece.
Don’t forget the hidden costs — construction adhesive, primer, paint, and nail gun rental can add another $75-100 to your total. Factor in 15% waste for cuts and mistakes, especially on your first project.
The plywood route saves money on large walls but requires a table saw and skill to rip consistent strips. Expect to pay $40-60 for a sheet of quality plywood vs $200-300 for pre-cut strips covering the same area.
Hardware stores often discount furring strips when you buy in bulk, so don’t buy piecemeal. Menards typically has better lumber pricing than Home Depot, while Lowes falls somewhere in the middle.
Installation Mistakes That Ruin the Look
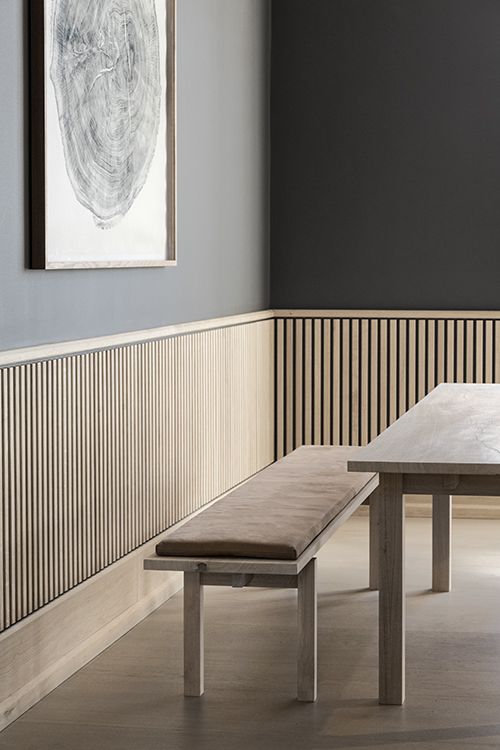
Inconsistent spacing is the biggest giveaway that your slat wall is DIY rather than professionally installed. Use a spacer board cut to your exact gap measurement — eyeballing it never works.
Skipping the primer step leaves you with blotchy paint coverage that looks amateur no matter how good your installation technique. Pine absorbs paint unevenly, creating light and dark patches that scream homemade.
Not checking for plumb walls before starting will haunt you — if your wall leans, your vertical slats will look crooked even when they’re perfectly straight. Use a level to mark your first slat position and work from there.
Rushing the nail placement creates visible holes and split wood. Pre-drill pilot holes if you’re hand-nailing, or use an 18-gauge brad nailer with 1.25-inch nails for clean, nearly invisible holes.
Best Paint Colors and Finishes for Slat Walls
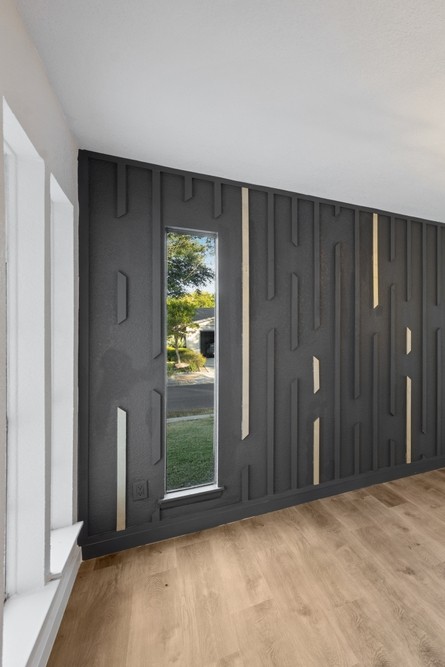
- Benjamin Moore White Dove OC-17 — the gold standard for crisp white slats that don’t look sterile
- Sherwin Williams Agreeable Gray SW 7029 — perfect warm gray that works with any decor style
- Benjamin Moore Revere Pewter HC-172 — the most universally flattering greige for neutral slat walls
- Sherwin Williams Iron Ore SW 7069 — rich charcoal that creates dramatic contrast without going full black
- Benjamin Moore Hunter Green 2041-10 — sophisticated forest green that feels fresh, not dated
- Sherwin Williams Extra White SW 7006 — use this on the wall behind colored slats to make any paint color pop
Which Room Are You Starting With?
The beauty of DIY slat walls is how they work in almost any space — from cozy bedrooms to dramatic living rooms. Start with one accent wall to test your skills before committing to a whole-house slat situation.
Remember, the best slat wall is one that fits your actual lifestyle and skill level, not just what looks good on Pinterest. Pin your favorites for later!