This post contains affiliate links and is a member of the Amazon Services LLC Associates Program. If you make a purchase using one of these affiliate or Amazon links, I may receive compensation at no extra cost to you.
Wood Trim Ceiling Accent Ideas That Actually Work (2026)

Wood trim ceiling accent ideas that actually work — 15 designer-approved looks with real sourcing tips and honest takes.
Wood trim ceiling accents have serious staying power — unlike other trends that come and go, this one earns its keep by adding instant architectural interest to rooms that desperately need it. Most ceilings are boring afterthoughts, but the right wood trim treatment can completely transform how a space feels.
I’m partial to certain approaches over others, and I’ll tell you which ones are worth your time (and which require more commitment than you might expect). Here are 15 wood trim ceiling accent ideas that range from weekend projects to full contractor jobs.
What Your Contractor Needs to Know About Ceiling Trim
Get the ceiling prep right. Any trim work is only as good as the surface it’s mounted to — uneven drywall or old plaster needs attention before you start nailing up boards.
Choose the right wood species. Poplar is your budget-friendly option at $2-4 per linear foot, while white oak runs $8-12 but looks infinitely better stained.
Factor in electrical work early. Moving or adding ceiling lights with trim work requires permits in most areas — plan for an extra $800-1,200 for basic rewiring.
Order 15% extra material. Wood has natural defects, and you’ll want matching boards for future repairs — better to return extras than hunt for discontinued lumber later.
Consider the room’s proportions. Heavy beam treatments can overwhelm rooms with 8-foot ceilings, while delicate trim gets lost in spaces over 10 feet high.
Plan for seasonal movement. Wood expands and contracts — proper installation includes strategic gaps and flexible caulk, not rigid adhesives that crack.
1. Classic Coffered Ceiling Grid
This is hands down my favorite approach — the traditional grid pattern created with 1×4 or 1×6 boards adds serious architectural weight to any room. The deep shadows between sections create visual interest that works whether you paint everything Benjamin Moore Simply White OC-117 or go bold with contrasting colors.
Best for dining rooms and living spaces with 9+ foot ceilings where you want maximum impact. Expect to budget $8-15 per square foot installed, and know that this look requires precise measuring — uneven spacing will haunt you forever.
2. Rustic Exposed Beam Treatment
Faux beams have come a long way — today’s polyurethane options from brands like Barron Designs look convincingly like reclaimed wood but weigh 80% less. The key is choosing the right stain color; I’d pick weathered gray over honey oak any day.
Perfect for farmhouse or transitional spaces, but honestly, this only works if you commit to the whole look. Half-hearted beam placement screams fake, while thoughtful spacing that follows structural logic sells the illusion completely.
3. Simple Crown Molding Upgrade
Not all crown molding is created equal — the chunky 5-6 inch profiles make rooms feel more finished than those wimpy 2-inch strips contractors love. I’m partial to simpler profiles over ornate Victorian styles, which can look dated quickly.
This works in literally any room and any ceiling height, making it the safest choice on this list. Fair warning though: good installation matters more here than anywhere else, and wonky corners are impossible to hide once it’s up.
4. Board and Batten Ceiling Pattern
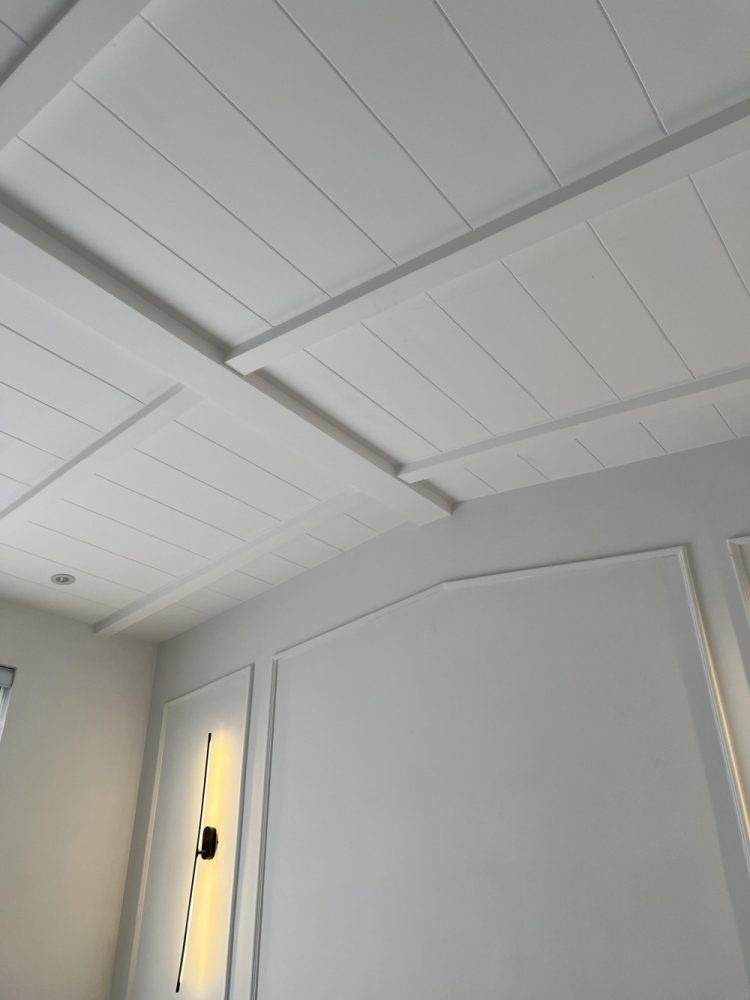
Taking the classic wall treatment overhead creates unexpected visual interest — alternating wide boards with narrow battens draws the eye up and makes rooms feel taller. Paint everything the same color for subtle texture or use contrasting colors for more drama.
This technique works best in bedrooms and studies where you want cozy rather than grand. It’s also surprisingly budget-friendly at $3-6 per square foot, making it perfect for DIY-ers willing to spend a weekend with a nail gun.
5. Tray Ceiling with Wood Trim Detail
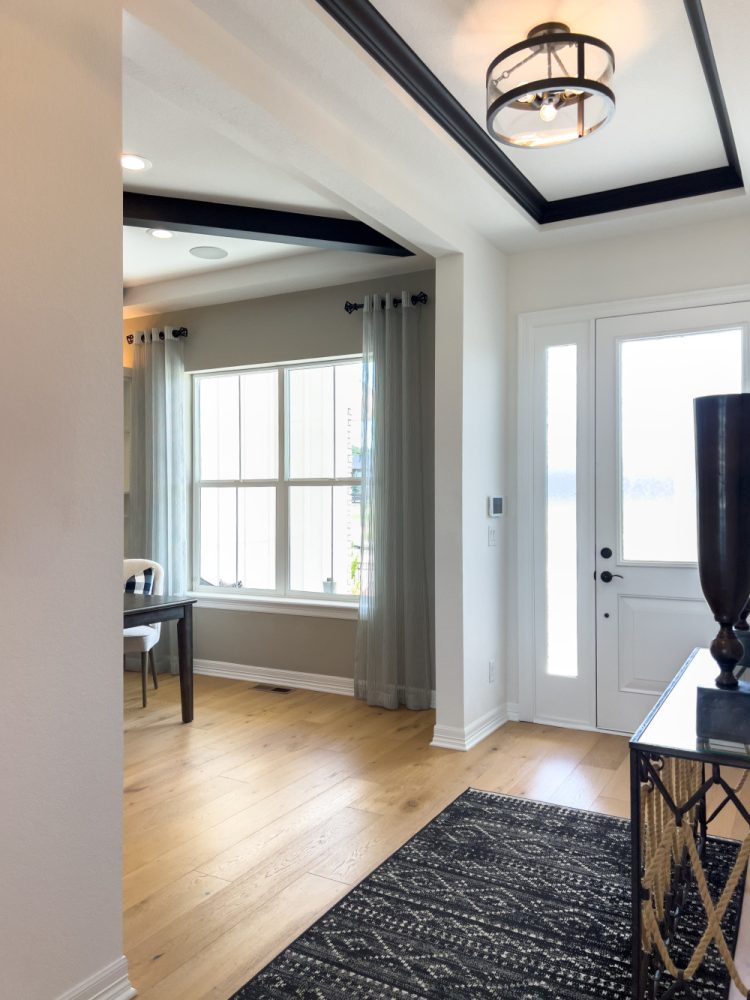
If you’re stuck with an existing tray ceiling that feels builder-basic, adding wood trim around the perimeter transforms it completely. Use 1×3 boards to create picture frame molding inside the tray — it’s like crown molding but with more personality.
This approach works in master bedrooms and formal dining rooms where you want sophistication without going full coffered. Just know that tray ceilings can feel dated in smaller spaces, so proceed carefully.
6. Geometric Wood Grid Accent
Think coffered ceiling but with more modern proportions — rectangular or diamond patterns using 1×2 strips create sophisticated geometry overhead. This look reads contemporary when painted crisp white or dramatic when done in deep colors like Benjamin Moore Hale Navy HC-154.
Best for contemporary homes with clean lines elsewhere, but honestly requires perfect execution to work. One crooked line ruins the whole effect, so this isn’t a beginner-friendly project despite looking simple.
7. Planked Wood Ceiling with Trim Borders
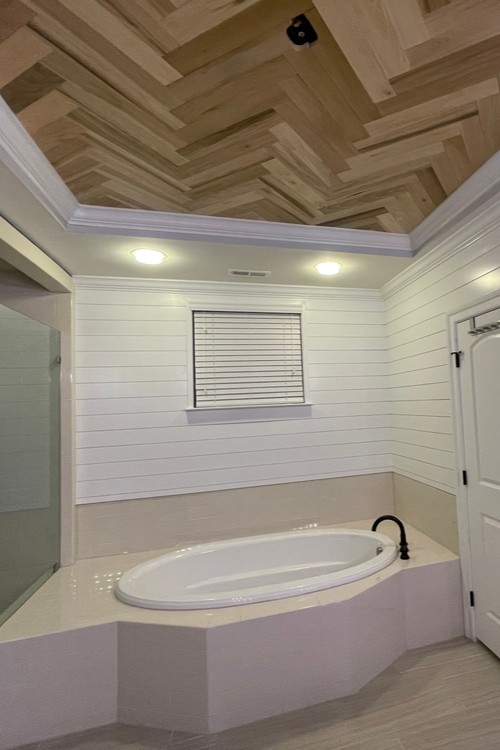
Tongue and groove planking gets an upgrade when you add trim borders around the perimeter — it contains the pattern and makes it feel intentional rather than rustic cabin. White oak planks with white painted trim hits that modern farmhouse sweet spot perfectly.
This works beautifully in kitchens and family rooms where you want warmth without going full country. The catch is that wood ceilings show every flaw, so proper prep work is non-negotiable here.
8. Picture Frame Molding Ceiling
Simple rectangular frames created with flat trim boards add architectural interest without overwhelming the space — it’s like wainscoting but overhead. The trick is getting the proportions right; rectangles should feel balanced, not stretched.
Perfect for transitional spaces that need more character but can’t handle heavy treatments. This is also one of the most DIY-friendly options since it doesn’t require complex joinery or structural modifications.
9. Decorative Ceiling Medallion Focus
A single dramatic ceiling medallion can anchor an entire room — whether it’s carved wood from architectural salvage or a DIY version made from layered trim pieces. The key is scale; tiny medallions look lost while oversized ones dominate.
This approach works best in dining rooms or entryways where you want a focal point without covering the entire ceiling. It’s also budget-friendly since you’re only treating one small area, but the impact is surprisingly big.
10. Layered Crown and Trim Combination
Combining traditional crown molding with additional trim pieces creates custom millwork without custom prices — stack a chair rail profile above standard crown for extra depth. Paint everything the same color for subtle elegance or use contrasting finishes for drama.
This technique works in formal spaces that need serious architectural presence. The downside is that layered trim collects dust and requires more maintenance than simpler treatments — consider your cleaning tolerance honestly.
11. Vaulted Ceiling Beam Accents
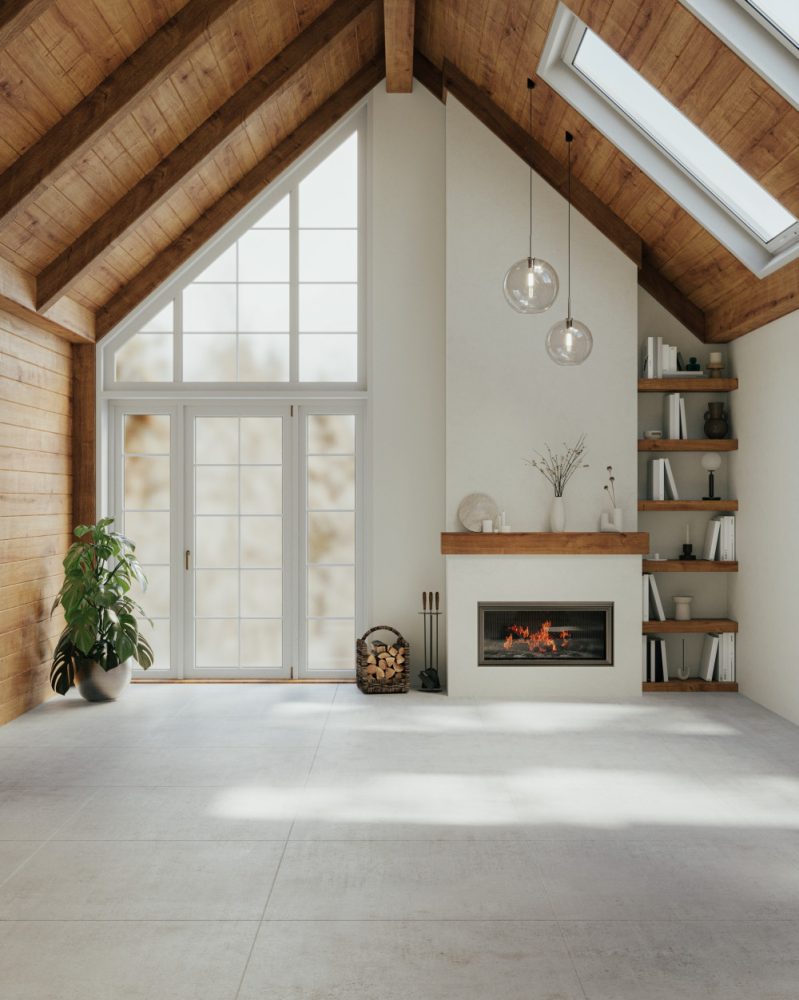
Strategic beam placement on vaulted ceilings can either enhance or fight the architecture — following the natural roofline works while arbitrary placement looks awkward. I prefer wider, fewer beams over lots of narrow ones that create visual chaos.
This only works in rooms with actual vaulted ceilings, obviously, but when done right it’s spectacular. The challenge is that beam spacing needs to relate to the room’s proportions and furniture layout below — not just ceiling structure.
12. Minimalist Linear Wood Strips
Sometimes less is more — parallel 1×2 strips spaced evenly across the ceiling create clean lines that feel modern without being stark. This works especially well when the strips run perpendicular to the room’s longest dimension, making spaces feel wider.
Perfect for contemporary homes or anyone wanting subtle ceiling interest without traditional fussiness. The installation is straightforward, but getting perfectly parallel lines requires laser levels and patience — rushing this shows immediately.
13. Mixed Material Trim Design
Combining wood trim with other materials — metal strips, rope details, or even painted sections — creates custom looks without custom costs. The key is choosing materials that complement rather than compete with each other.
This approach lets you get creative while staying budget-conscious, but it requires a confident design eye. Too many materials look busy rather than sophisticated, so edit ruthlessly and stick to 2-3 elements maximum.
14. Reclaimed Wood Feature Panels
Strategic placement of reclaimed wood panels within trim frames creates focal points without full ceiling coverage — think accent wall but overhead. Barnwood or weathered planks bring texture and character that new lumber can’t match.
This works beautifully in bedrooms or studies where you want warmth without overwhelming the space. The catch is that good reclaimed wood is expensive — expect $8-15 per square foot — and installation requires careful planning to avoid looking haphazard.
15. Contemporary Floating Trim Boxes
Shallow boxes created with 1×4 trim and mounted with hidden brackets appear to float on the ceiling surface — it’s architectural sculpture that doubles as lighting opportunity. LED strips hidden in the boxes create dramatic uplighting effects.
This is my top pick for modern homes that need ceiling interest without traditional references. The installation is more complex than it looks, requiring careful planning for electrical and structural attachment points, but the effect is absolutely worth it.
Material Costs and Where to Source Them
Poplar trim boards are your budget option at $2-4 per linear foot from Home Depot or Lowe’s — they paint beautifully but don’t stain well. Pine splits the difference at $3-6 per foot and handles both paint and stain decently.
For premium results, white oak runs $8-12 per linear foot from specialty lumber yards like Woodfinder or local millwork shops. The grain is gorgeous and it stains like a dream, but you’ll pay for quality.
MDF trim costs 40% less than wood but requires perfect priming and painting — skip it for ceiling applications where you need structural integrity. Polyurethane beams from Barron Designs or Volterra cost $15-25 per linear foot but install easier than solid wood.
Always order 15% extra material for mistakes and future touch-ups. Wood has natural defects, and matching stain or paint batches later is nearly impossible.
DIY vs Hiring Out: What You Need to Know
Simple crown molding and picture frame treatments are solid DIY projects if you own a miter saw and aren’t afraid of ladder work. Budget 2-3 weekends for an average room, plus time for multiple paint coats.
Coffered ceilings and beam installations require structural knowledge — you’re screwing into ceiling joists, not just drywall. Hire a carpenter for anything involving electrical work or structural modifications; permits often required.
Professional installation runs $8-20 per square foot depending on complexity, while DIY materials cost $3-8 per square foot. The labor premium is worth it for intricate patterns or rooms where perfection matters — dining rooms, entryways, master bedrooms.
Get three quotes minimum and ask to see photos of similar projects. Ceiling work is highly visible, and fixing mistakes after the fact costs more than doing it right initially.
Installation Tips for Long-lasting Results
- Check ceiling flatness first — use a long straight edge to identify high and low spots that need attention before trim installation
- Locate ceiling joists accurately — trim needs solid attachment points, and drywall anchors won’t hold ceiling weight long-term
- Pre-drill all screw holes — prevents splitting and allows precise placement, especially important with hardwoods
- Use construction adhesive plus screws — the combo provides immediate hold and long-term security as wood moves seasonally
- Leave expansion gaps at walls — 1/8 inch gaps get covered by caulk but allow natural wood movement without buckling
- Sand between paint coats — ceiling trim shows every brush stroke, so proper surface prep makes the difference between amateur and professional results
Which Ceiling Treatment Caught Your Eye?
The right wood trim ceiling accent transforms rooms from boring boxes into spaces with real character — whether you go full coffered or keep it simple with crown molding upgrades. My advice is to pick one approach and execute it perfectly rather than combining multiple treatments that compete for attention.
Pin your favorites for later!